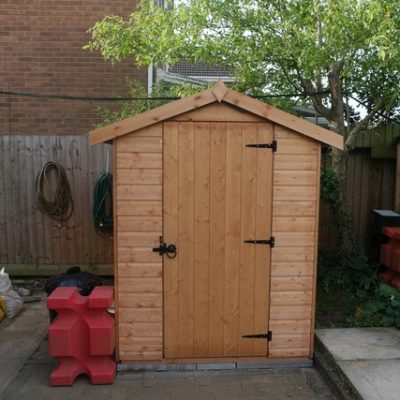
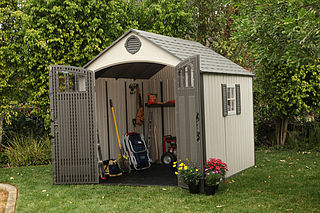
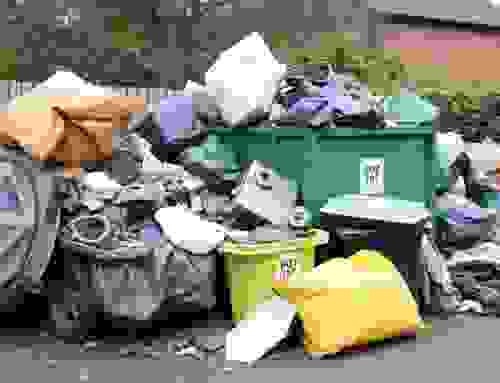
Are you a little bit scared to open your shed’s doors? Perhaps you keep warning people to keep a distance from it in case everything inside collapse, drowning them in rubbish. We have prepared some helpful shed clearance tips to give you a hand in turning this dangerous storing space into the shed that you’ve always dreamed for.
1. Find Out Where the Problem Comes From
You need to find out what makes your shed so full. Is it the bicycles that haven’t been used in the last four years? Or perhaps it’s all those gardening tools that you bought with the intention of using, but haven’t even unboxed? Maybe you use the shed to dispose of your garden waste by throwing everything without even paying attention what is happening inside and just shutting the door before the rubbish comes back at you. Whatever it is, one thing is certain – the contents inside will determine the time you have to spend on its clearance.
2. Anything Is Possible with the Right Tools
After you have established what is causing the problem, now comes the time for you to get what is needed and deal with the shed clearance. We suggest you get heavy duty gloves and refuse bags. Since you probably are still not completely sure what you will find inside your hands will definitely need protection. You also need to get a strong brush and some boxes for organising the items into. If you thing there are enough things for a skip hire, don’t hesitate doing it. If you think you could use some help with all the work book a company that provides waste collection services. Make sure that everything is where it has to be before you start clearing all the junk.
3. Discard the Bigger Items
Get rid of the biggest items. They take up most of the space and cause bigger problems than regular stuff. Start the junk removal – bag all the excess rubbish or throw it in the skip if you opted for hiring one. Your next move is to get on with the things that you are not sure you need to throw but don’t really want to keep either. Decide what to do with them and get on with it. A good idea is to either sell the items or just donate them to someone who can find them useful.
4. Clean the Remaining Clutter
Once the big items are out of the picture it’s time to get on with the smaller stuff. Depending on how you acquire items this may be the most time consuming part of the shed clearance. After everything is bagged up it’s time to start with the most annoying part – cleaning. Make sure that you are familiar with the best cleaning agents and items for your type of shed and decide if you want to just give your shed a quick brush or clean it thoroughly and make it sparkle.
5. Always Plan for the Future
Your shed finally looks almost pristine. Now it is time to assess why it got so messy and make sure to never repeat that mistake. Try to change your collecting habits and use the current annoying experience to motivate yourself. Be a little more organised and you will not have to spend so much time for the next clearance.
6. Hire Professionals to Help You
There is always a possibility that you don’t have the time to face the shed clearance. This is where you have to call in professional waste collection services and let them do the job for you. All you need to do in that case is to gather the information about the types and amount of your rubbish before you call a clearance company. Give them the information needed and let them help you spend your time relaxing, instead of being annoyed from all the hectic work that needs to be done. Find a company that fits your budget and get a shed clearance without any of the stress that comes with it.


